Article Summary
Most virtual staging failures are not caused by the AI model — they come from avoidable input and workflow mistakes. This guide explains seven mistakes that hurt listing quality, buyer trust, and conversion rates: weak source photos, wrong room/style mapping, over-staging, inconsistent style across rooms, unrealistic edits, missing MLS disclosure, and skipping final QA. It also provides a repeatable pre-publish checklist agents can run in 5-10 minutes before posting staged images to MLS or landing pages.
7 Virtual Staging Mistakes That Cost Listings (And How to Fix Them)
Virtual staging is fast, affordable, and often very effective — but only when execution is disciplined.
When staged listings underperform, the root issue is usually not the tool. It's process quality.
If you want staged photos that increase click-throughs and showing requests, avoid the seven mistakes below.
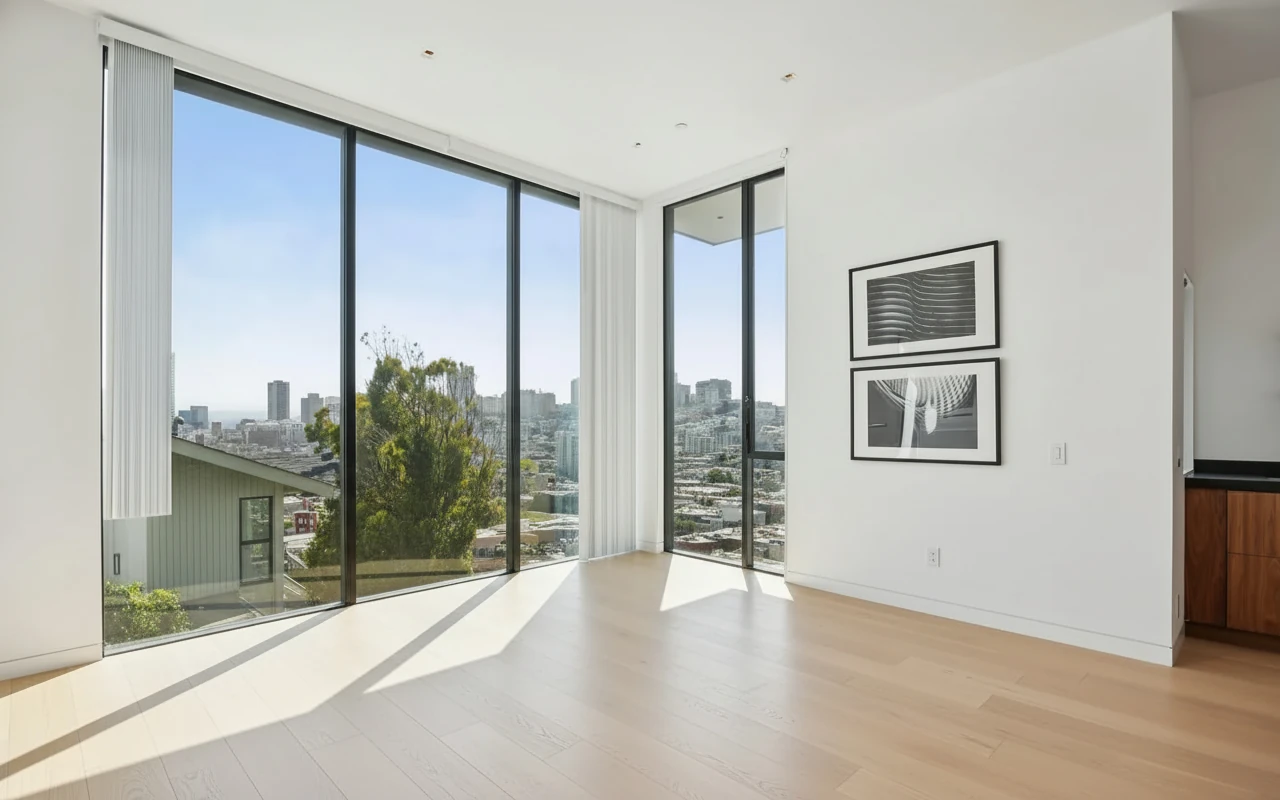
1) Starting with low-quality source photos
AI can improve a good image, but it cannot fully rescue a bad one.
Common source-photo issues:
- Crooked vertical lines
- Dark corners and mixed lighting
- Low resolution or compression artifacts
- Busy rooms with too much clutter
Fix
- Shoot at chest height with level framing
- Use daytime light + all interior lights on
- Capture at least 1920x1080 (higher preferred)
- Clean obvious clutter before upload
If needed, run Photo Enhancement before staging.
2) Choosing the wrong room type or style intent
If the model receives weak room context, furniture placement and decor choices become less natural.
Examples:
- Office photo marked as living room
- Luxury condo staged with farmhouse decor
- Compact room staged with oversized furniture style cues
Fix
- Match room type precisely (living room, bedroom, office, etc.)
- Pick style based on target buyer profile and neighborhood comps
- Keep one primary style family per property
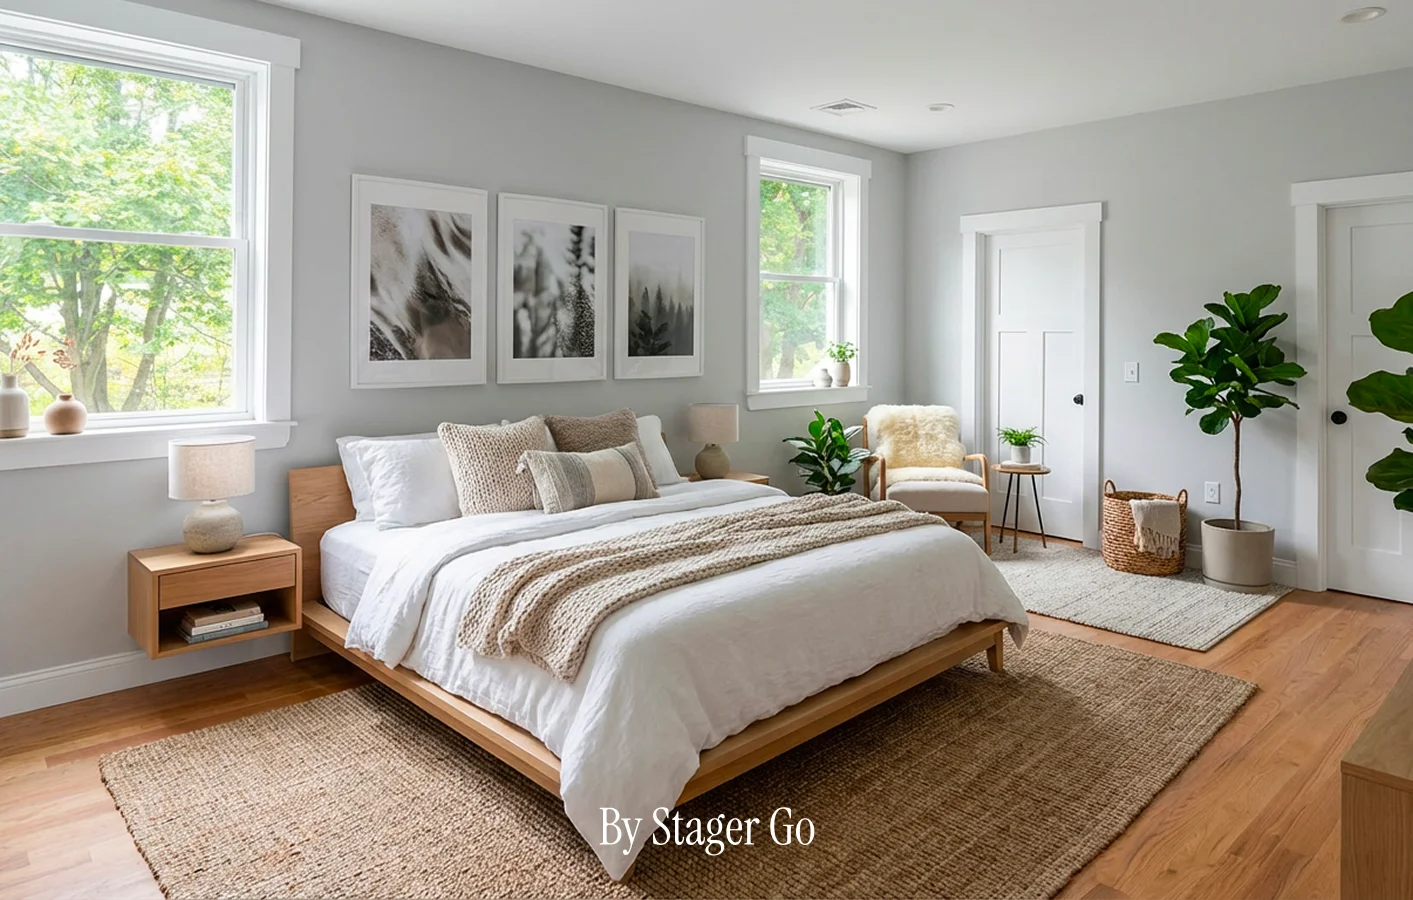
3) Over-staging rooms with too many decorative elements
Over-decorated scenes can look artificial and distract buyers from actual space.
Red flags:
- Too many props on every surface
- Heavy visual clutter near traffic paths
- Styling that looks editorial instead of livable
Fix
Use a "real-estate clarity" standard:
- 1-2 accent layers (e.g., rug + plants)
- Clear walk paths
- Neutral, buyer-friendly density
4) Inconsistent style across the same property
A modern living room + rustic bedroom + industrial dining room in the same listing feels disconnected.
This hurts perceived quality and makes the home feel less coherent.
Fix
Define a mini style system before generating:
- Primary style: one
- Secondary variation: one (optional)
- Color direction: neutral/warm/cool
Then apply it room by room with minor variation only.
5) Making unrealistic edits that break trust
Virtual staging should improve presentation, not misrepresent the property.
Risky edits include:
- Adding impossible architectural features
- Hiding permanent defects
- Unrealistic window views or lighting behavior
Fix
Keep edits non-structural and plausible:
- Furniture, decor, lighting polish
- Clean visual narrative of existing room potential
- Preserve true room shape and constraints
If your team needs a practical default, use StagerGo's template-driven workflow first and only add custom prompts when needed. That keeps edits controlled and listing-safe.
6) Missing MLS disclosure and compliance notes
Even strong staged images can create compliance risk if disclosure is missing.
Fix
Before upload:
- Add "Virtually Staged" in staged-image captions
- Add listing disclosure in description
- Include original photos in the media set
- Verify local MLS policy specifics
StagerGo helps here too because your team can keep a consistent output pattern (staged set + originals + clear captioning) instead of handling ad-hoc exports from multiple tools.
7) Publishing without a final quality-control pass
Small errors (floating shadows, odd object edges, scale mismatch) reduce credibility immediately.
Fix: 5-minute QA checklist
Perspective & Scale
- Furniture size feels proportional
- No floating or tilted objects
Lighting & Shadows
- Light direction is consistent
- No obvious shadow artifacts
Style Coherence
- Matches other rooms in same listing
- Buyer-appropriate decor density
Compliance
- Staged photos disclosed
- Originals retained and available
A useful pattern is to generate 2-3 fast options in StagerGo, keep one winner, and run QA once. This prevents late-stage revision loops.
A Simple Workflow You Can Reuse on Every Listing
- Prep photos (or enhance first)
- Stage core rooms with consistent style
- Regenerate obvious misses immediately
- Run 5-minute QA checklist
- Publish with MLS-safe disclosure
That single loop prevents most expensive mistakes while keeping turnaround fast.
If you want one platform for that loop, start with StagerGo's AI virtual staging tool, then expand to before-and-after examples and pricing for your team rollout.
Final Step: Turn This Checklist Into a Daily SOP
Most teams don't need more theory — they need a repeatable operating workflow.
- Use one style framework per listing
- Use one QA checklist before publish
- Use one staging platform for consistency
If you want to test this immediately, run one live listing through StagerGo and compare:
- time-to-publish
- revision count
- click-through and inquiry quality
Start here: Open StagerGo workspace